
 +1-623-439-7197
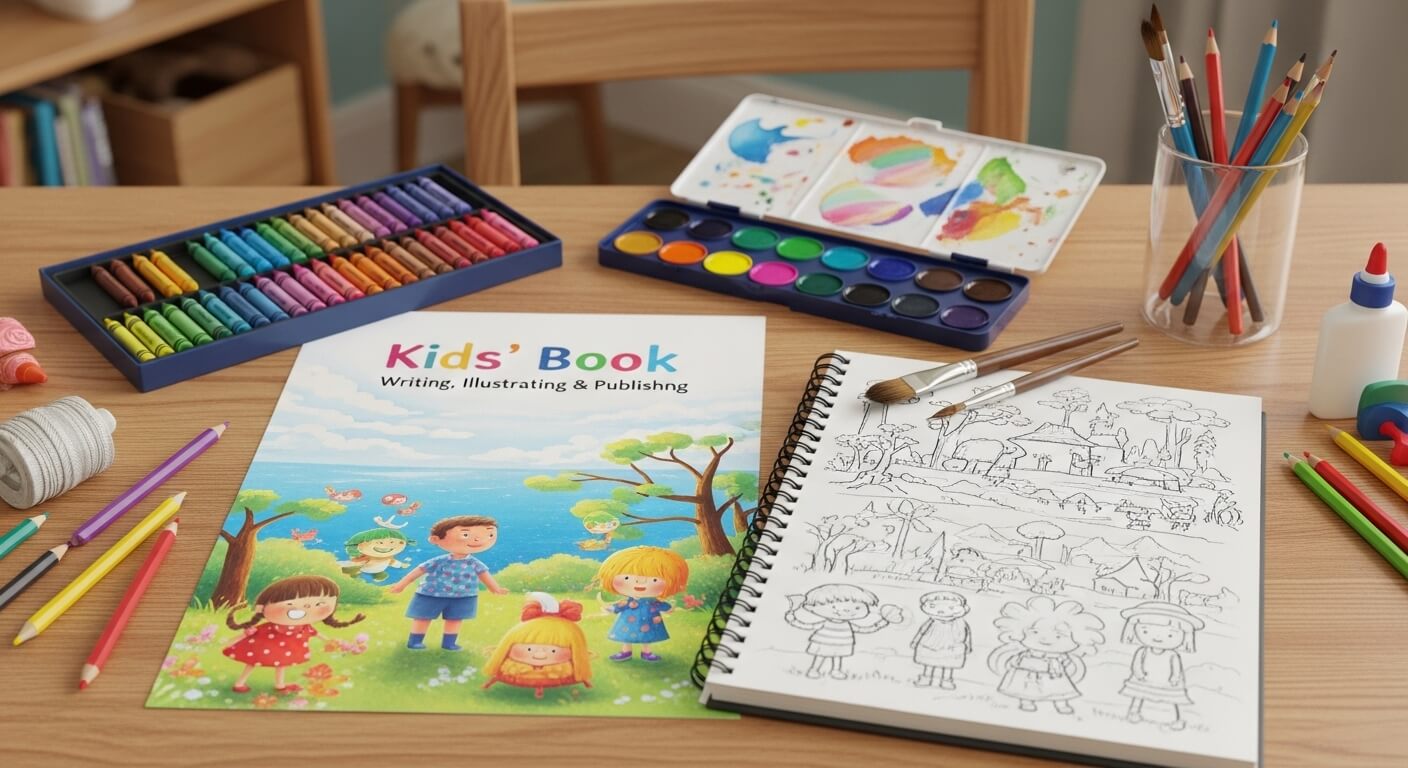
Creating a children’s book is one of the most imaginative and fulfilling journeys a writer or illustrator can embark on. Whether you want to share a bedtime story, teach an important life lesson, or simply entertain young readers, making a kids’ book is your chance to bring smiles, spark imagination, and make lasting memories.
But how do you start? What makes a children’s book successful? How do you go from idea to bookshelf? In this complete guide, you’ll learn how to write, illustrate, and publish a children’s book—from the first concept to finished product.
What You Need Before You Start
Before diving into the writing process, it’s essential to lay a strong foundation. Children’s books may be short, but they require thoughtful preparation and planning.
Ask Yourself:
- Who is my target age group?
- What message or emotion do I want to convey?
- Do I want to write fiction or nonfiction?
- Am I illustrating the book myself or hiring someone?
- Will I self-publish or try traditional publishing?
Clarifying these details early helps guide every decision you make moving forward.
Gather These Essentials:
- A quiet space or notebook for brainstorming
- A rough idea or concept for your story
- Knowledge of the age group you’re writing for
- Inspiration from other successful kids’ books
Once you have a clear vision, you’re ready to begin the exciting process of creating your children’s book.
Steps to Make a Kids’ Book
Now let’s go through the key steps to write, illustrate, and publish your kids’ book successfully.
Step 1: Know Your Audience
Understanding your target readers is crucial. Children at different ages respond to different themes, writing styles, and illustrations.
Common Age Categories:
- Ages 0–3: Board books with basic concepts, colors, or animals
- Ages 3–5: Picture books with simple stories and strong visuals
- Ages 5–7: Early readers with short paragraphs and repetitive phrases
- Ages 7–9: Chapter books with more developed plots and characters
Matching your content to the age group’s reading ability and interests makes your book more engaging and appropriate.
Step 2: Come Up with a Story Idea
All great books begin with a great idea. It doesn’t need to be complex; simple stories often make the biggest impact.
Story Ideas Could Come From:
- Childhood memories
- Funny or magical “what if” questions
- Lessons you want to teach (e.g., kindness, bravery)
- Animal adventures, fairy tales, or everyday situations
Think about what children will relate to and what parents will enjoy reading aloud.
Step 3: Plan Your Book Structure
Children’s books follow a clear and engaging structure. Plan your story so it flows naturally from beginning to end.
Basic Story Framework:
- Beginning: Introduce the character and setting
- Middle: Present a problem or challenge
- End: Resolve the issue with a satisfying conclusion
For picture books, your story typically fits within 24 to 32 pages, with a balance between text and illustrations.
Step 4: Write the First Draft
Now it’s time to bring your idea to life through words.
Writing Tips:
- Use simple, clear language suitable for your age group
- Keep sentences short and rhythmic
- Show emotions and actions through dialogue and behavior
- Make your story fun to read aloud
- Add repetition or rhymes for engagement
Don’t worry about perfection—your first draft is just the beginning.
Step 5: Revise and Edit
Editing is a crucial part of the creative process. A polished book keeps young readers focused and entertained.
Editing Checklist:
- Does the story have a clear beginning, middle, and end?
- Is the vocabulary age-appropriate?
- Are the characters engaging and relatable?
- Is the pacing smooth and consistent?
- Are grammar and spelling correct?
Ask parents, teachers, or other writers for feedback. Reading the book out loud helps spot awkward sentences and pacing issues.
Step 6: Illustrate the Story
Illustrations are vital in children’s books, especially for younger readers. If you’re not an artist, you can work with a professional illustrator.
Illustration Tips:
- Use bright, expressive visuals that match the mood
- Make characters visually appealing and consistent
- Show emotions clearly through facial expressions
- Leave room for text in your layout
- Use storyboards to plan illustrations alongside the text
You can find illustrators on websites like Fiverr, Upwork, or Behance. Always agree on the number of illustrations, deadlines, and style before starting.
Step 7: Format Your Book
Proper formatting ensures your book looks professional in both print and digital formats.
Formatting Tips:
- Use tools like Adobe InDesign, Canva, or Book Creator
- Choose standard sizes (e.g., 8.5” x 8.5” for square books)
- Leave margins and bleed space for printing
- Pick a child-friendly font (like Century Gothic or Comic Sans)
- Keep text large and legible
Preview your layout to see how it looks in print or on devices.
Step 8: Decide How to Publish
You have two main options for publishing your book:
1. Traditional Publishing:
- Submit your manuscript to agents or publishers
- They handle editing, illustration, marketing, and distribution
- Competitive, but offers professional support and credibility
2. Self-Publishing:
- Gives you full creative control and quicker turnaround
- Use platforms like:
- Amazon KDP (for print and Kindle)
- IngramSpark (wider distribution)
- Lulu or Blurb (for photo books or custom prints)
Self-publishing is ideal for beginners or authors with a clear vision.
Step 9: Market Your Book
Once your book is published, it’s time to share it with the world!
Marketing Ideas:
- Create an author website or blog
- Share your journey on social media (Instagram, TikTok, Facebook)
- Run giveaways or offer free review copies
- Host virtual storytimes on YouTube or Zoom
- Send your book to teachers, librarians, and parenting bloggers
- Join local book fairs and school events
Marketing takes time, but the more people see your book, the more likely it is to find its audience.
Final Thoughts
Making a kids’ book is more than just putting words and pictures on a page—it’s about creating something that sparks joy, curiosity, and wonder in a child’s heart. From choosing your idea and writing the story to illustrating and publishing, every step is a chance to share your creativity and leave a lasting impact.
Whether you’re a first-time author or an illustrator dreaming of picture books, remember: all great children’s books start with a little imagination and a lot of heart.


